
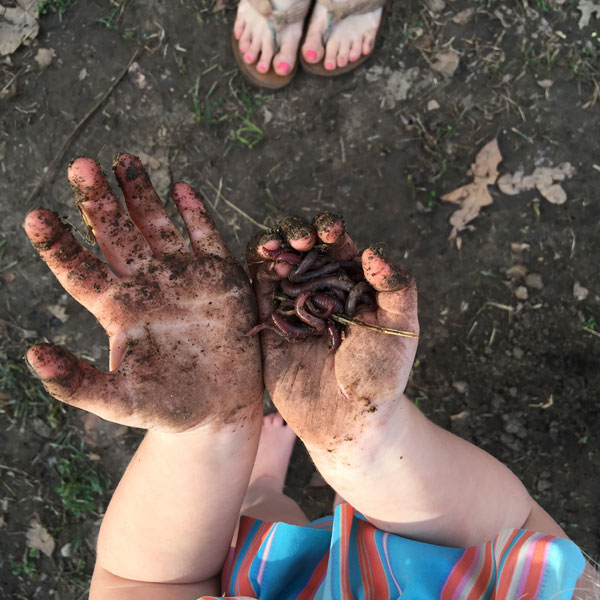
If you like garden and dirt talk, you might like this post. If not, see ya next time?
I've mentioned in previous posts, and instagram, that we decided to try a new design for the garden this year. If you were around last year, you know we had just moved to a temporary spot and started our garden from scratch. We had to make the fence, work the soil and get some plants in. So for time sake, we went with rows. I like rows for several reasons as do a lot of people, however, it's not what we dreamed when we picture the garden. And let me also make it clear, if rows are your thing, awesome! This is not a post about what way is best because I don't think there's a right or wrong way to garden. This is just a post about our garden and why we changed it up.
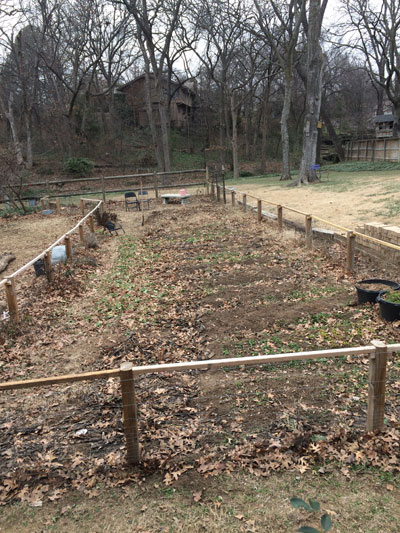
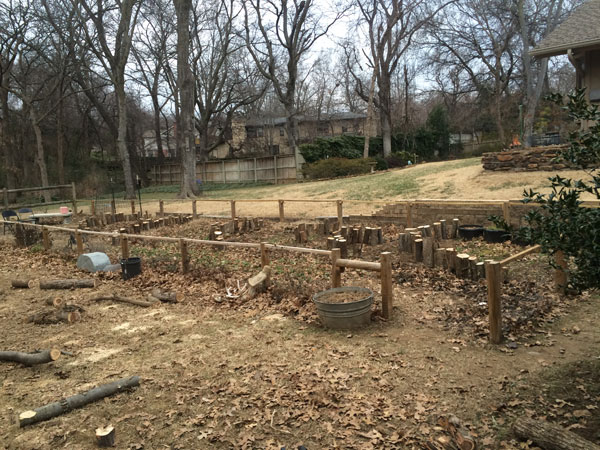
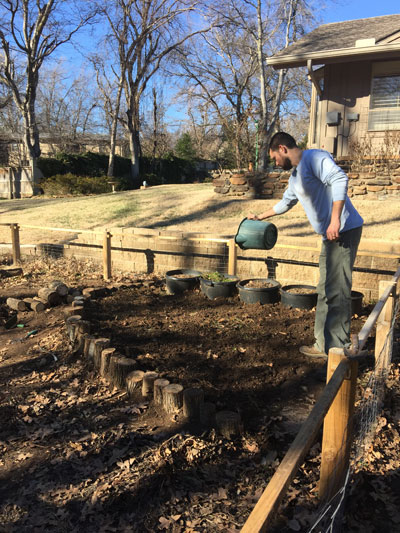
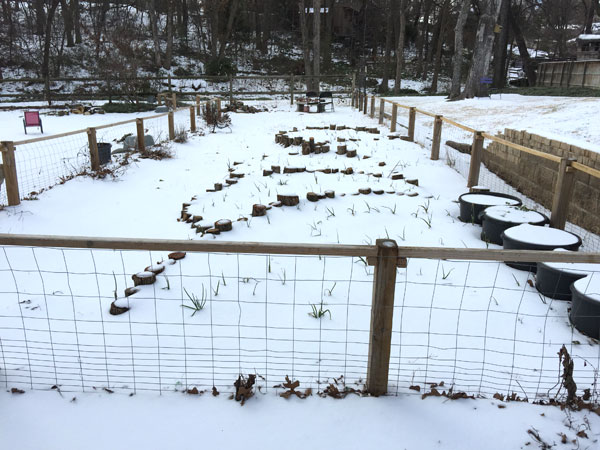
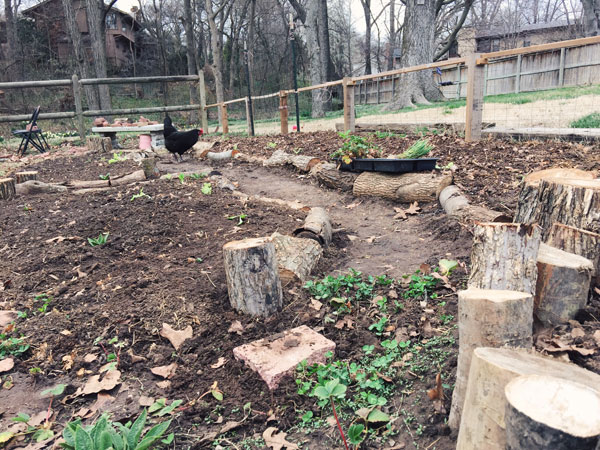
This was what it looked like in January.
Most of you know my husband and I (which I will refer to as "we") are a tad obsessed with growing things. We love everything about it, well, most things. Pulling weeds in 100+ temps isn't glorious. Anyway, he's always been the brains and vision to what we do. I just help carry out the plan. It's like a chef and sous chef but in the garden. And while this design isn't our DREAM garden, it's a whole lot closer to it.
So here's a little photo overview of how we did it with a little why mixed in.
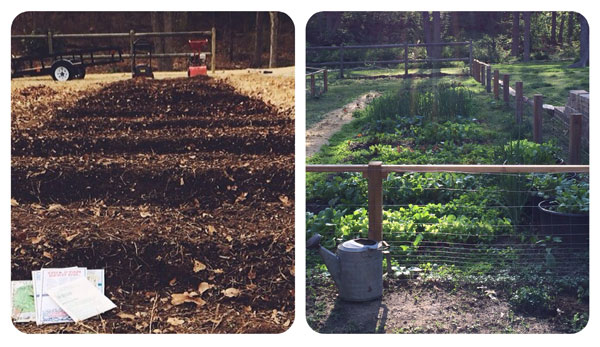
First the plan and layout.
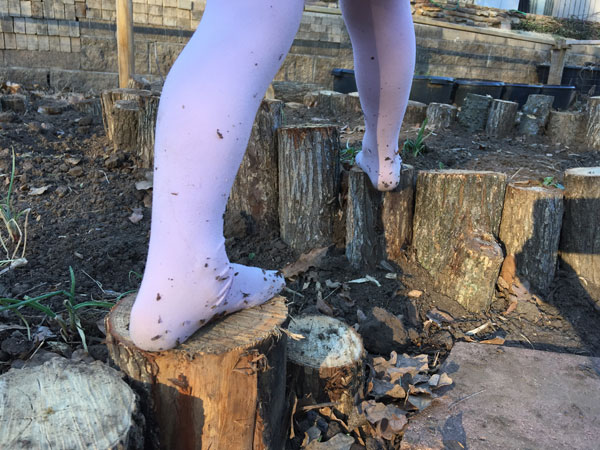
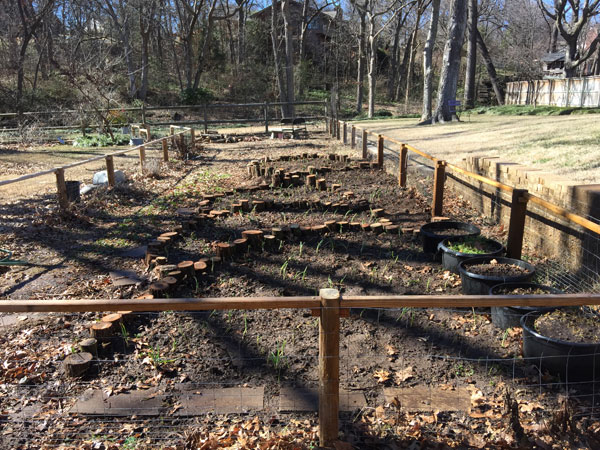
In permaculture design, one of the principles is to mimic successful patterns in nature. No straight lines, as those don't really appear anywhere in nature. So we based the layout with a fish scale or feather approach. For the bed dividers we used wood from our land that had been cut down when we built the pond. I loved that the wood wasn't wasted and it adds a natural touch, which is another couple of principles in permaculture, use renewable resources and produce no waste. Basically, we are turning into hippie gardeners and that's okay by me. haha.
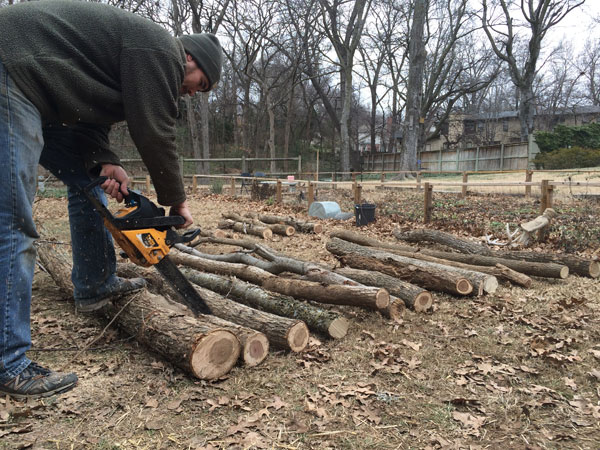
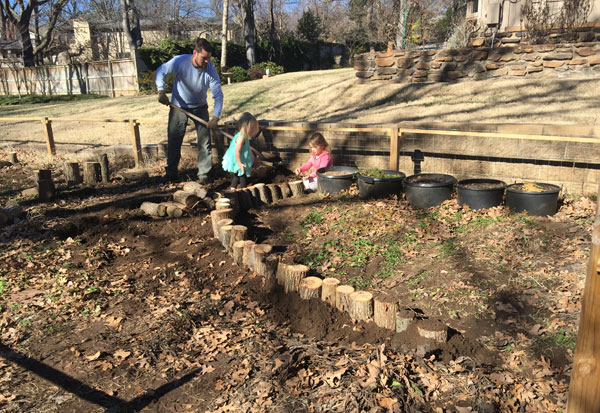
Once the logs were cut and laid out, we dug small trenches to bury the logs. We wanted the beds to be raised and kind of based the bed design on the idea of a hugelkultur bed. It's a permaculture term and you can read more about the whys behind it in my favorite gardening book, the vegetable gardener's guide to permaculture, or online. Basically, it's like planting on a compost pile. Not really but that's the gist. You layer all kinds of things like logs, brush, leaves, compost, rotting material, etc. and top it with dirt and as it composts, the soil is enriched and feeds your plants.

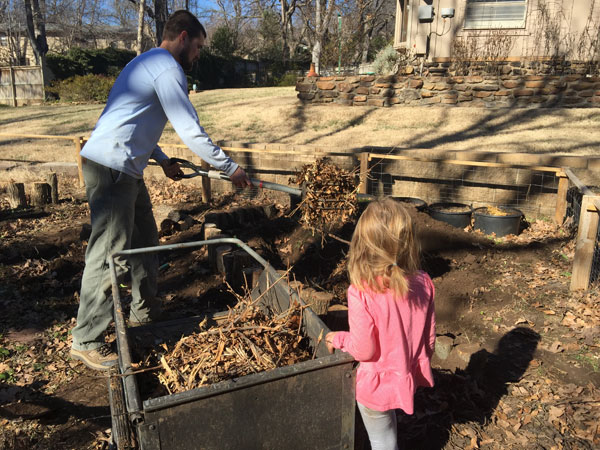
It's supposed to be a mound but we don't follow directions. So after the logs were laid in, we dug a trench, piled the dirt in a mound for later, filled the trench with wood chips (free from a friend), compost, leaves we piled during fall and winter, rabbit manure (found a lady on craigslist selling it by the truckload for cheap) and leftover stalks and vines from last seasons okra and tomato plants (something I learned from my grandpa). With the addition of all those materials, it naturally raised our bed and then we topped it off with the soil we saved from the trenches we dug for the logs and filler.
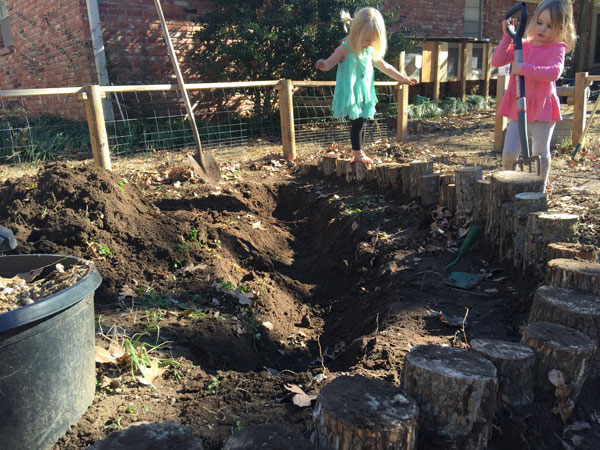


We repeated that process for each scale.
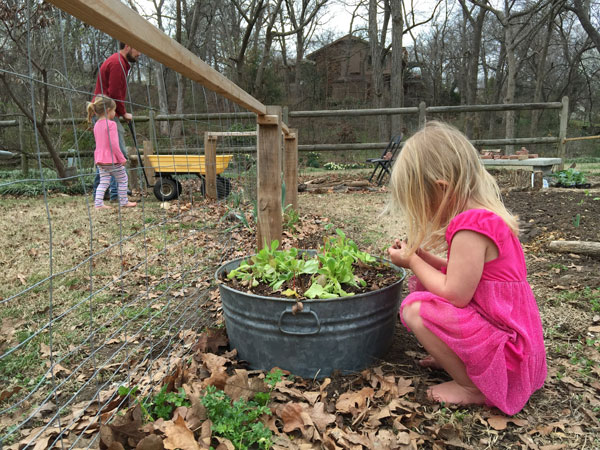
About the time the scales were finished, it was Valentine's Day, which means onion planting day. So we planted onions, as snow and cold temps don't hurt them.
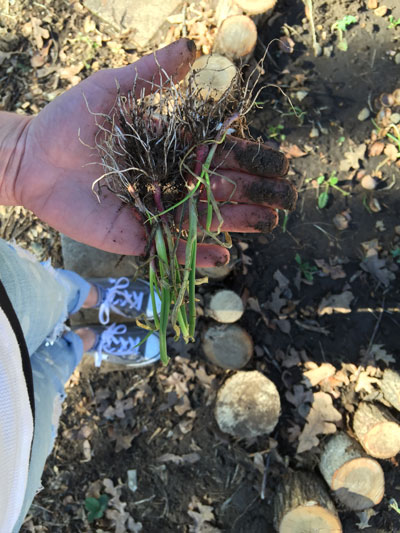
And again, we planted the onions in a fish scale pattern among the larger scales with the idea of planting different lettuces or plants within each smaller scale.
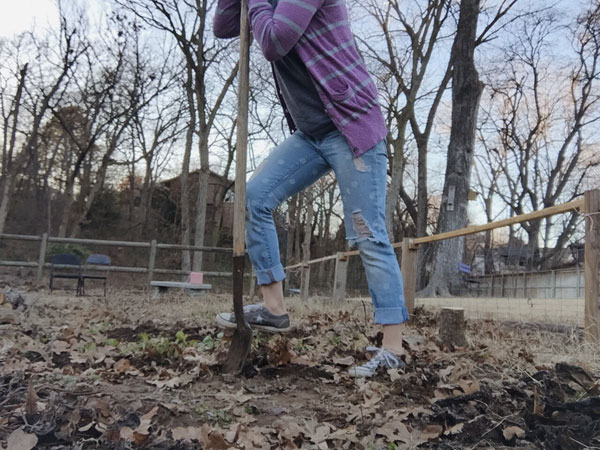
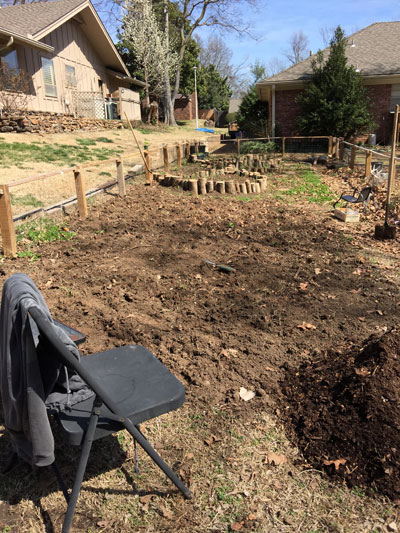
Then we waited until it was warmer and worked on the back part of the garden.
We wanted to do something different in this area and still had some logs left over so we laid out a simple path with growing space on either side. We did the same basic trench idea but for the whole bed. We dug out the area for the garden, dug trenches for the log border, filled the are with composting material, topped with soil and took a breather. Then we filled the path with pea gravel and planted some things.
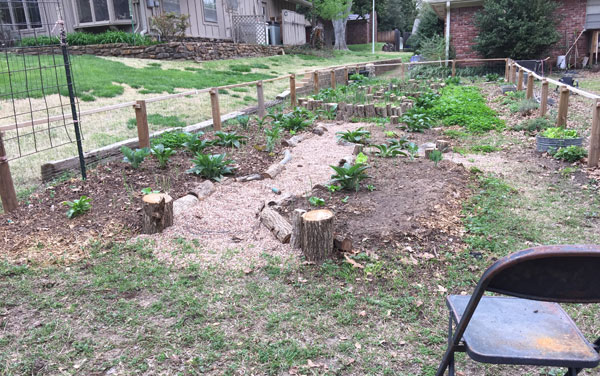
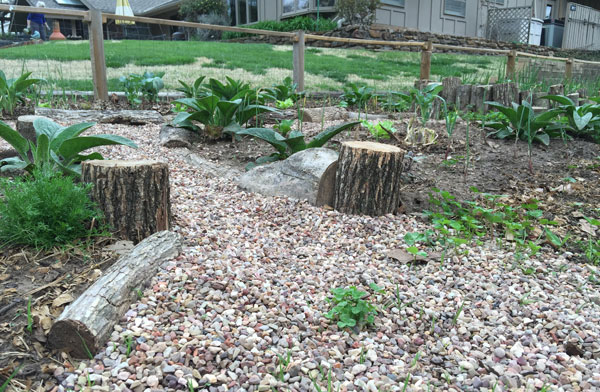
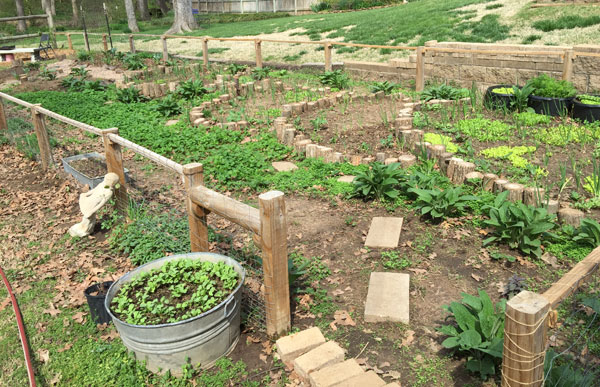
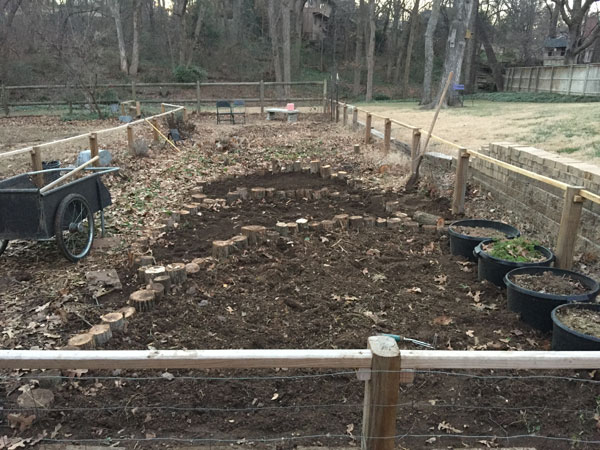
So that's what it looks like now. Not finished but man, I love it.
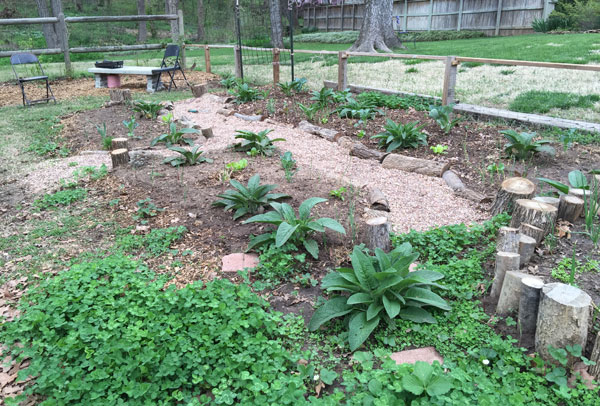

One thing I've learned about gardening, for me at least, my garden will never be perfect. There will always be work, something to change, something to add or remove. Lessons learned. But just starting gets it going.
I hear people talk about being afraid to start. What's the worst that could happen? You kill a few plants? Been there. Done that. But, seriously, if you want a garden - go for it. Just start! Don't try to be a hero and have a BH&G space the first year. Start small and learn as you grow. The garden we have now could not have happened our first year trying. I probably would've given up all together attempting it all. But man, I'm so glad we got a couple of buckets and planted a few plants all those years ago. I'm happy we started, even if it made a complete garden nerd out of me.
For more garden posts and tips: beginner gardening tips, garden planning, indoor planting, soil prep, spring planting, comfrey and buckwheat, strawberries.