Jul 23, 2012

Greek Chicken with Roasted Okra - recipe

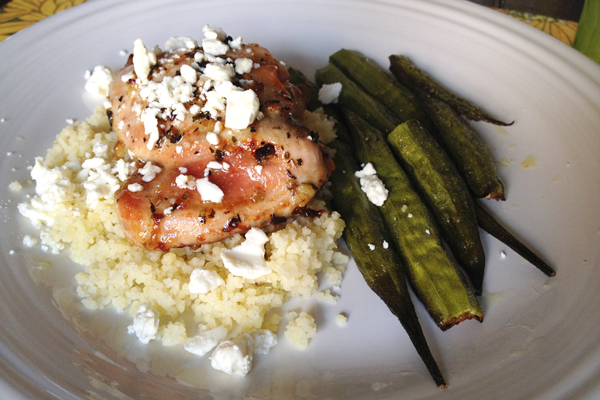
I shared a picture of this meal on instagram and had a couple people ask for the recipe so here it is.

greekchicken

The husband requested Greek chicken the other night and I didn't want to go to the store so I had to use what we hand on hand. I found this recipe for Greek chicken adapted it to fit our tastes.

I had 6 boneless, skinless chicken thighs in the fridge and marinated them over night (marinade recipe below).

Marinade:
1/4 cup lemon juice
1/2 cup olive oil
1 tablespoon basil
1 tablespoon oregano
1 teaspoon fresh oregano
1/4 teaspoon thyme
3 cloves minced garlic
salt and pepper

Just whisk it all together in a bowl and pour it over chicken in a gallon freezer bag.

So it marinated over night and the next day I put the thighs in a baking dish and tried to save as much of the marinade as I could and spread it over the meat. I baked them for 30 minutes then turned the broiler to high and cooked them another 5 minutes, or so, until the skins started to get brown and crisp.

As for the okra, I had picked several pods from the garden and an instagram friend (@omarchris - he makes the most delicious food) suggested I roast them. I've never had roasted okra so I had to try it! Turns out it is super simple to make and so very delicious. Now, I do love me some fried okra but I've had plenty of that already this year and the roasted was a nice change.

Anyway, for the okra. I cut the stems off each pod and cut them in half vertically and spread them out on a cookie sheet. Then I drizzled them with olive oil and seasoned them with salt and pepper and baked them at 400 degrees for about 20 minutes or so, until they started to get a little black in places.

I served the chicken (topped with a little crumbled feta) over couscous alongside the okra and it was one of my husband's favorite meals.

I'm making it again this week but am attempting to make it with a whole chicken in a crock pot. I'll let you know how it turns out.

Anyway, have you ever had roasted okra?


Jul 19, 2012

Canning Adventures Part 1 - Salsa

Canned Garden Salsa

Every year my husband plants way too many tomato plants than we could ever need. In past years we have given the excess to neighbors and co-workers but this year we decided to try a few canning recipes for our tomatoes. I've never canned in my life and was surprised at how easy is was.

Easy, yes.

Quick, no.

Canning takes time and a whole lot of it. First there's the prep work. Cleaning, chopping ingredients and sanitizing EVERYTHING. Then there's the cooking time, processing time and my least favorite part, the clean up. It's pretty much a whole day affair.

That said, it's also pretty fun. I have since canned a variety of things that I'll share over the next few weeks but I'll start with my first adventure: salsa.

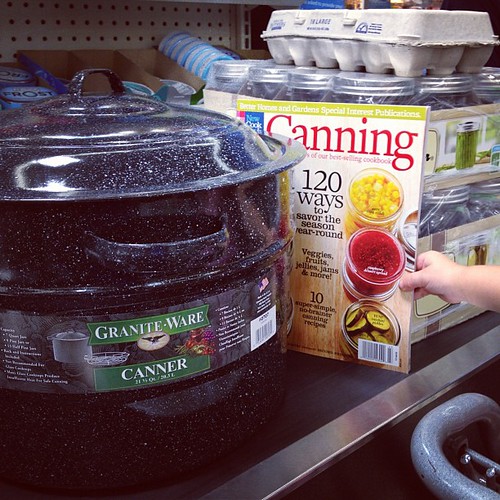
I went to the store and got a few canning essentials. 

canning basics 

A water canner, plenty of jars and a handy little canning cook book.

And this is how it all went down.

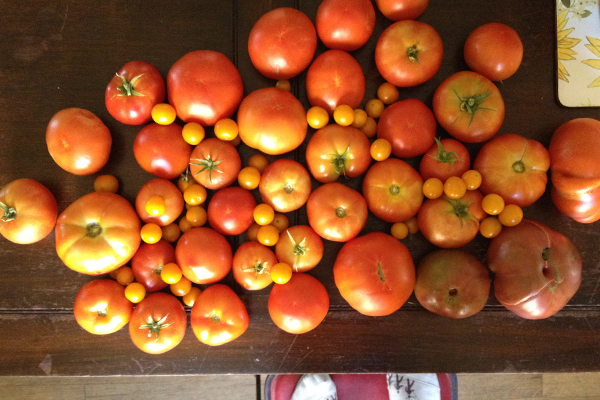
Main ingredient: tomatoes picked from the garden. 

a day's garden harvest

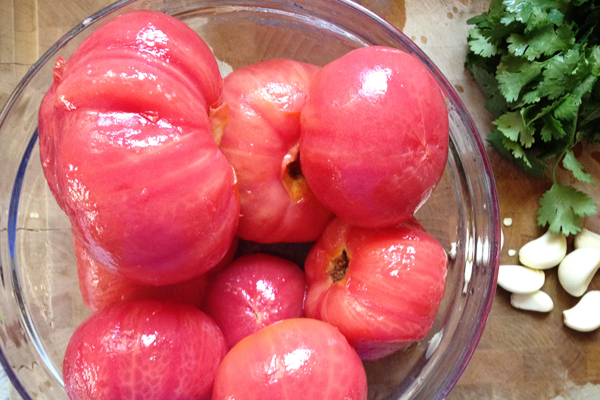
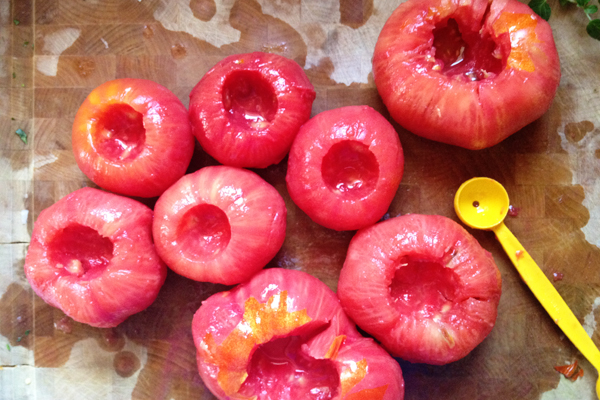
I had to blanch like 12 pounds of those bad boys before coring and taking most of the seeds out. Side note, I never blanched anything before and was amazed how fast and easy it was. The skins peeled off without much effort. 

blanched tomatoes

Anyway, time to remove the cores. I didn't have a fancy corer so I improvised and just used a melon baller. You can call me a genius, I don't mind. 

coring tomatoes with melon baller

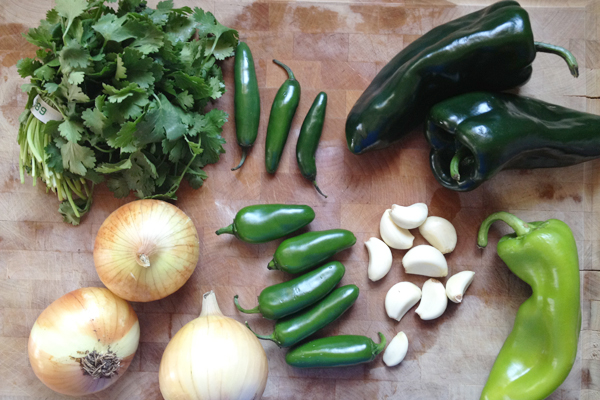
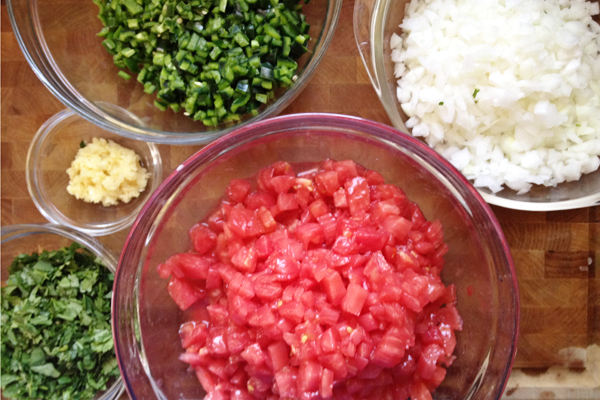
Next up was chopping all the tomatoes, peppers and other ingredients. Ideally, you would do all this with a food processor but I didn't have one at the time so I put my fancy, super sharp knife to work. 

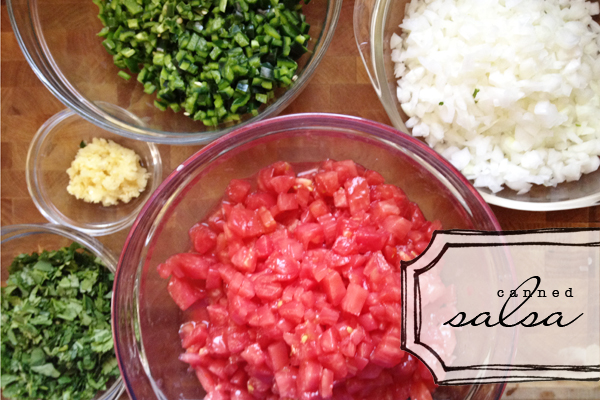
pre-chopped ingredients for salsaingredients in canned salsa

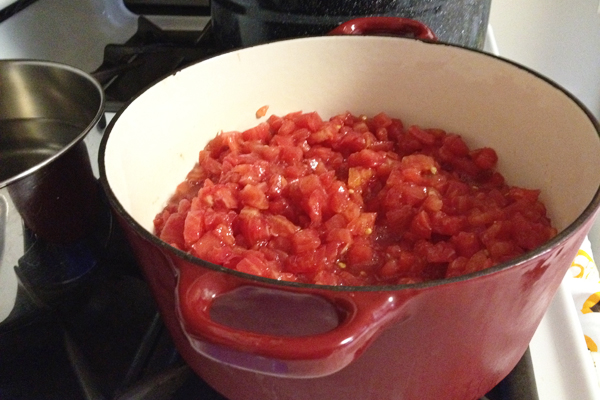
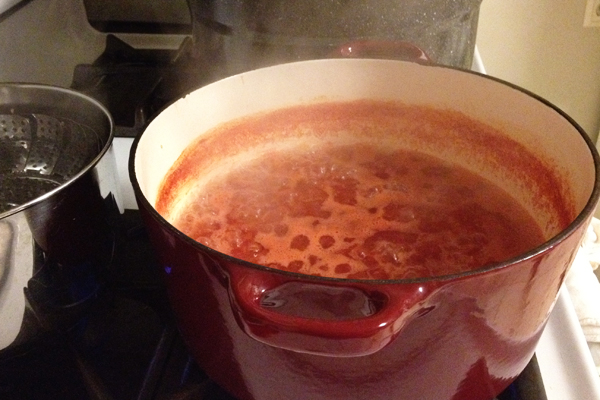
Once everything was chopped, it was time to cook. I started with the tomatoes first. 

tomatoes for canning salsa

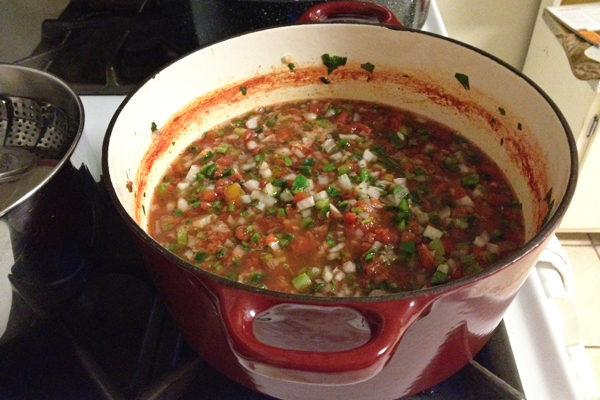
Cooked those down a bit before adding all the other stuff. 

making garden fresh salsa for canningmaking garden fresh salsa for canning

Let it all come to a boil before ladeling it into the jars.

Let me pause here. Anyone know why it's called canning and not jarring? You don't use cans and I'm pretty sure the first people to "can" didn't use cans either. 

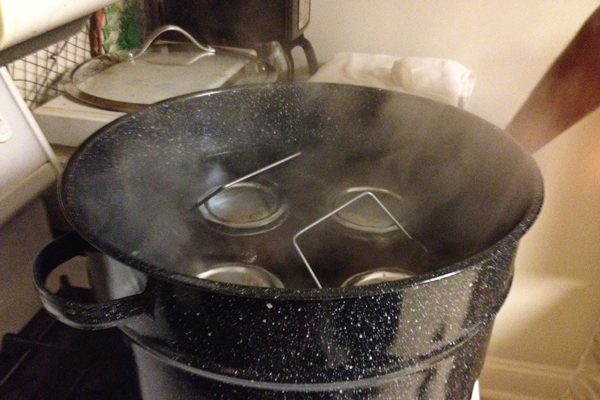
Anyway, there's a whole process in this that I won't bore you with but basically you have to have your jars heated so they don't break when you put in the hot salsa. Then all the jars go back in the water canner and "process" or continue cooking in boiling water for a certain amount of time. 

Canning homemade salsa

Then it's time to take them out and wait to hear the magical "pop" of the lid sealing. It's pretty awesome. 

 Canning homemade salsa

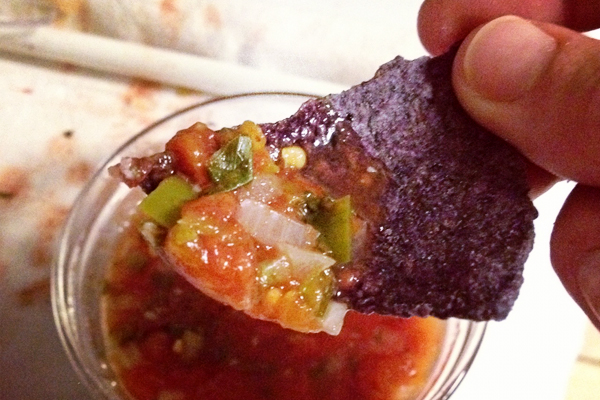
I must also say that I was a little more than disappointed at the amount of salsa 12 pounds of tomatoes made. I was hoping for a pantry full of garden salsa that I could eat on for years but I ended up with a few jars full. Oh well. We had some salsa that didn't fit in the jars so we had a taste test. The flavor was awesome but it just wasn't hot enough.

 Canned Garden Salsa

I'm always afraid to make things too hot and ruin it but I'm realizing that even if I double the amount of peppers a recipe calls for, it's still not hot enough. Better luck next time. As for the jars we do have, I have been adding chopped habenero peppers and letting it sit for a day before eating it and it's pretty perfect. 

So, what did I learn from my first adventure in canning? 

One, I need a food processor - which I know have thanks to a dear friend.

Two, I love blanching things!

Three, I should can on the weekend and not try to fit it in during nap time because there's just not enough time.

Four, I need to triple peppers when making salsa to meet my need for heat.

And, lastly, a personal cleaning assistant would be awesome because my kitchen looked like a crime scene with all the juice from working with 12 pounds of tomatoes scattered all over the place.

I don't have a recipe to share because I'm not 100% sold on my version but here's the one I used as a basis for mine: spicy tomato salsa, thanks, @theprairiehen. I just used more tomatoes and fresh peppers instead of dried.

Jul 16, 2012

Big Girl

This past week I've been cleaning, sanding and painting my old bed from when I was little for Sweet P.

She tested out the springs and we moved all her blankets over. Now she's sleeping in a big girl bed.

newbed

I may have shed a tear or two at the fact that she's never going to be in a crib again.

This was her when she was a wee little one, peeking out at me from her crib.

babypcrib2

How do they grow up so fast?!

bigpcrib

So very fast.

Jul 9, 2012

Homemade Pesto

homemade pesto

I have to start off letting you know I used to hate pesto. Like really hate it. I love fresh basil so it was weird to me that I didn't care for pesto at all. That all changed this year.

Our basil bushes have been doing quite well this year and I've been clipping it like crazy and making a lot of caprese salads and adding fresh basil to just about everything. It's been wonderful!

Since we have SO much basil I decided to make my own pesto and give my taste buds another shot. I mean, really, it's probably been 10+ years since I tried it and I'm certain my tastes have changed since then.

I looked up a lot of recipes online for pesto, read a bunch of reviews and made up my own version based off of this one. Turns out I love pesto!

Total surprise to me but I'm so glad I gave it another shot. I've been creating all sorts of dishes just so I can use it.

I first tried it alone on some fresh sliced tomatoes from the garden.

garden tomatoes with pesto

Delicious.

Then I heated some up in a skillet with a little cream and poured it over gnocchi and chicken.

chicken and gnocchi with pesto

Delicious again!

Then we had our homemade pizza night and I made a pizza with pesto as the sauce. I topped it with tomatoes, onions, sausage, feta and more cheese and baked it.

Homemade pizza with pesto

Again, delicious.

And the latest meal was just some store-bought chicken and cheese ravioli tossed with warmed pesto.

chicken and cheese ravioli with pesto

No surprise here. Delicious.

To top it off, it was so easy to make and as you can see, so versitile.

Have I interested you in making your own yet?!

If so, here's what you'll need:
ingredients for pesto

1. 3 cups chopped basil
2. 2 tablespoons minced garlic
3. 2/3 cup parmesean cheese
4. 1/2 teaspoon cayenne
    1/2 teaspoon salt
    1/4 teaspoon pepper
5. 1 cup extra virgin olive oil
6. 1/2 cup roasted walnuts, chopped

Ideally, you would blend the basil and a tablespoon of olive oil in a food processor until it was a paste, but I didn't have a food processor at the time so I used my magic bullet. Anyway, once you have a basil paste, gradually add the nuts, garlic, spices and remaining olive oil and blend until smooth. I just stored mine in a jar and stuck it in the fridge to use when I need it.

I know I have parmesan cheese listed and you need it, but I also read that if you leave it out your pesto will last longer. So, I just add the cheese as I use it but if you prefer to add it, just blend it in when you add the nuts and stuff.

That's it. Hope you enjoy it!

Jul 6, 2012

Photos from my phone

AKA - insta-Friday.

Last weekend we headed over to Porter to get some peaches.

portertrip1
portertrip2
Fried pies at The Peach Barn

With those peaches, we made jam.

peaches
peachjam
peach jam and toast

It was delicious.

Little sister also got dipped in a pool for the first time.

pool2
pool1

It was exhausting.

We danced in the rain.

rain

And celebrated the fourth.

julyfour
julyfour2

And I got this lovely package in the mail!

juice


life rearranged


It's been a good week! Hope you have a great weekend!


Jul 3, 2012

3 Months

a3monthsintro

I just talked about the gift that my first born is and now I get to brag on my youngest.

a3months

You are still so very content and happy and rarely fuss if I'm around. I'm still your favorite but you really like just about anyone - as long as they hold you and talk to you.

In the last month you have found your hands and almost always have them in your mouth. You grab at things in front of your face and try to pull them near.

a3months2
a3months4

You're not as content just sitting anymore. You want to sit up and take your world in. Your legs are really strong and you can scoot around if we set you on the floor. You flopped over for the first time too. I missed it, sorry about that. I heard the thump as you went from laying on your belly on a blanket to your back on the hard wood floor. You didn't fuss and you seem really tough.

a3months3

You are also starting to like your sister a lot more. She tries to include you in everything we do and tries to get you to play with her toys. You smile at her a lot when she talks to you and really start kicking your legs when she cheers you on when you're doing tummy time.

a3months5

You are also super funny. You have really started "talking" a lot more and sometimes laugh at yourself when you get loud.

a3months6

Sweet girl, you have been such a blessing to our lives these last three months and I'm so thankful you are a strong, tough, healthy, beautiful girl. We love you so much.


yellow headband from hope: handmade 

Jul 2, 2012

Basic Chicken Salad - recipe

I'm also sharing over at Beautifully Rooted today. It's a basic recipe for chicken salad - perfect for a 4th of July picnic under the fireworks!!

chicksalad1

See the post here.

june photoaday recap

Okay, I know I said I'd be posting the rest of little sister's 3 month photos today but I didn't realize a new month was already here so I wanted to go ahead and share my June photoaday pictures. The three month pictures will be up tomorrow.

Anyway, half of an entire year has already passed - that's 182 days. I started the year off in the third trimester with my second girl, 3 months later she was born and now she's 3 months old. I say it every time but time really is just flying by these days.

I'm really glad I joined the photoaday challenge because I've been able to capture a square memory for each 182 days this year. Even if I don't stick to the prompt, I still take a least one photo every single day and it's fun to look back over the first half of the year in photos.

So, here are my photos from June.

junephotoadaycollage

1-morning 2-empty 3-on my plate 4-close-up 5-sign 6-hat caught 7-drink 8-6 o'clock today 8-my view today 10-best bit of my weekend 11-door 12-from a low angle 13-art 14-time 15-yellow 16-out & about 17-in my bag dad 18-something you don't know about me 19-imperfect 20-fave photo i've taken 21-where i slept minted 22-from a high angle 23-movement 24-on my mind 25-something cute 26-where i shop 27-bathroom out-take 28-on the shelf 29-soft 30-a friend

For larger images and explanations, check out my flickr 2012 PhotoADay set. And click on the months to see January, February, March, April or May collages.

Half a year down and time, once again, to start a new month. As always, I'm @recipeforcrazy on instagram. Here's a link to July's photo-a-day prompts.